If you struggle with homeschooling history being dry and boring this review will show you how you can change that. We are making history timeline notebooks that we can add to over the years and we’ll show you how easy that can be.
While I did receive the Printable Essential Timeline Library free to review and I am compensated for my time working with it and writing this review, opinions are my own.
*****
BE SURE to read through the whole post because there is a code to save $10 and at the end you can enter a giveaway to win one of two different printable product packages!
****
History can be pretty ho-hum, yawn, for some. But I love history! And what’s better is that you and I can make learning history can actually become very creative and hands-on and leave you with a beautiful fun personal timeline notebook to keep for years.
While we are talking about homeschooling history what I’m going to share with you could actually be used for anyone interested in studying history and creating an attractive inter-active notebook for hobbyists.
Why make a historical timeline figures and more binder?
Why create a History Timeline Notebook
In a nutshell, when you use a three ring binder type of notebook for your hands-on history timeline it allows you to add more pages anywhere, easily. The kind of pages that would be great to add would include:
- maps
- your own sketches
- a list of books you read on that time period or figure
- anything more you want to include
Whether you are a homeschool student, parent or just a plain history buff wanting a tangible product of your history research, keeping a binder you can easily add to can be a definite advantage.
I personally have a ringed binder I collect and document my research from my hobby in local Native American artifacts and history.
The Printable Essential Timeline Library
Home School in the Woods makes creating a homeschool history timeline notebook or project easy and fun.
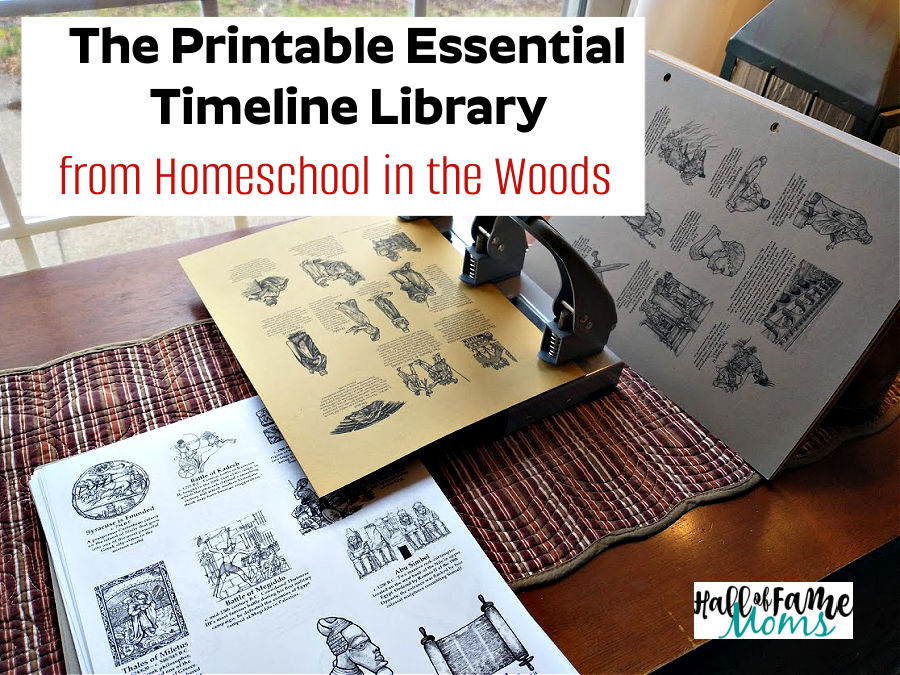
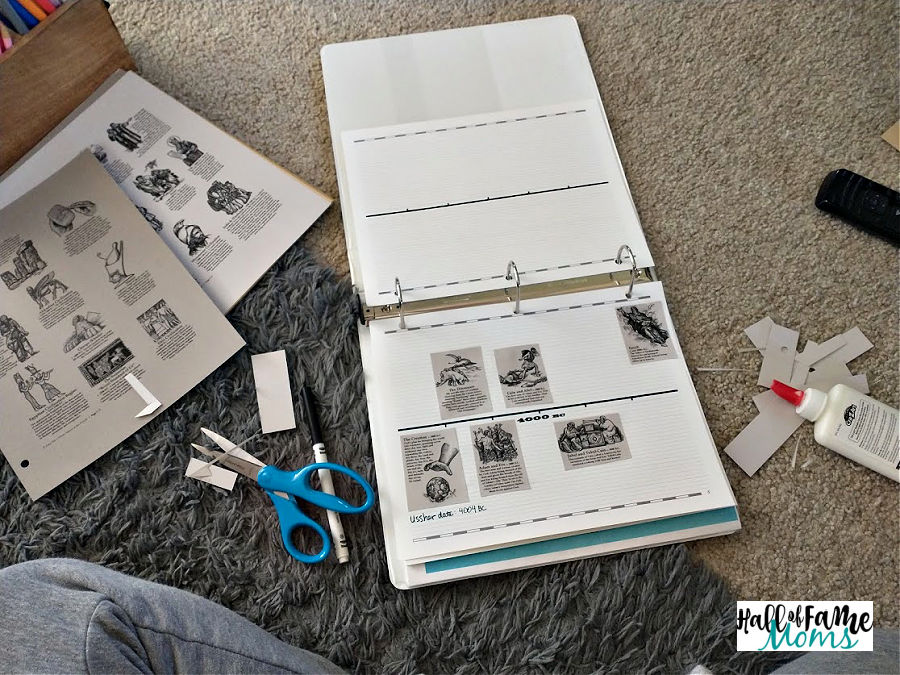
I found it easy to download to my laptop, access the figures and print. I chose to print our figures on colored card stock and I used different colors of card stock for different time periods, but you can use just plain printer paper if you’d like.
Not only can you print timeline notebook friendly sized figures but you can print wall sized figures also if you’d like to create a timeline on your wall!
You can also use these to create your own history lap books if you choose instead.
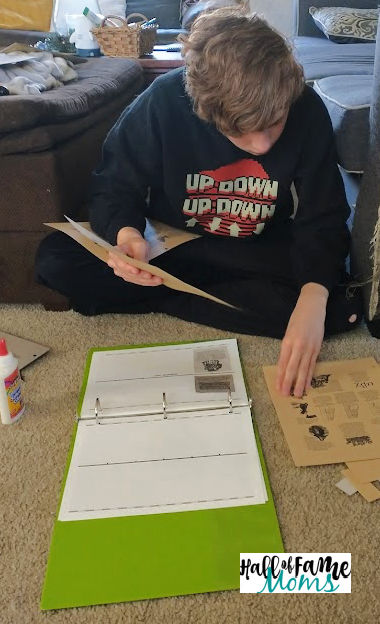
You can create you timeline in a portrait or landscape view. When I put together the basic set up for mine and my sons’ notebooks I chose to print a cover photo in black and white vs. color but you have that choice.
I made our notebooks in landscape view and I was actually thinking about having them spiral bound permanently from an office store – however, that would not allow us to add more pages, maps, or more to it.
Don’t be afraid to experiment and be creative! You and your children can color your figures if you want with colored pencils. Maybe try printing the basic timeline pages in a color and using plain white figures. We used a plain light color for our timeline pages and actual colored cardstock for our figures.
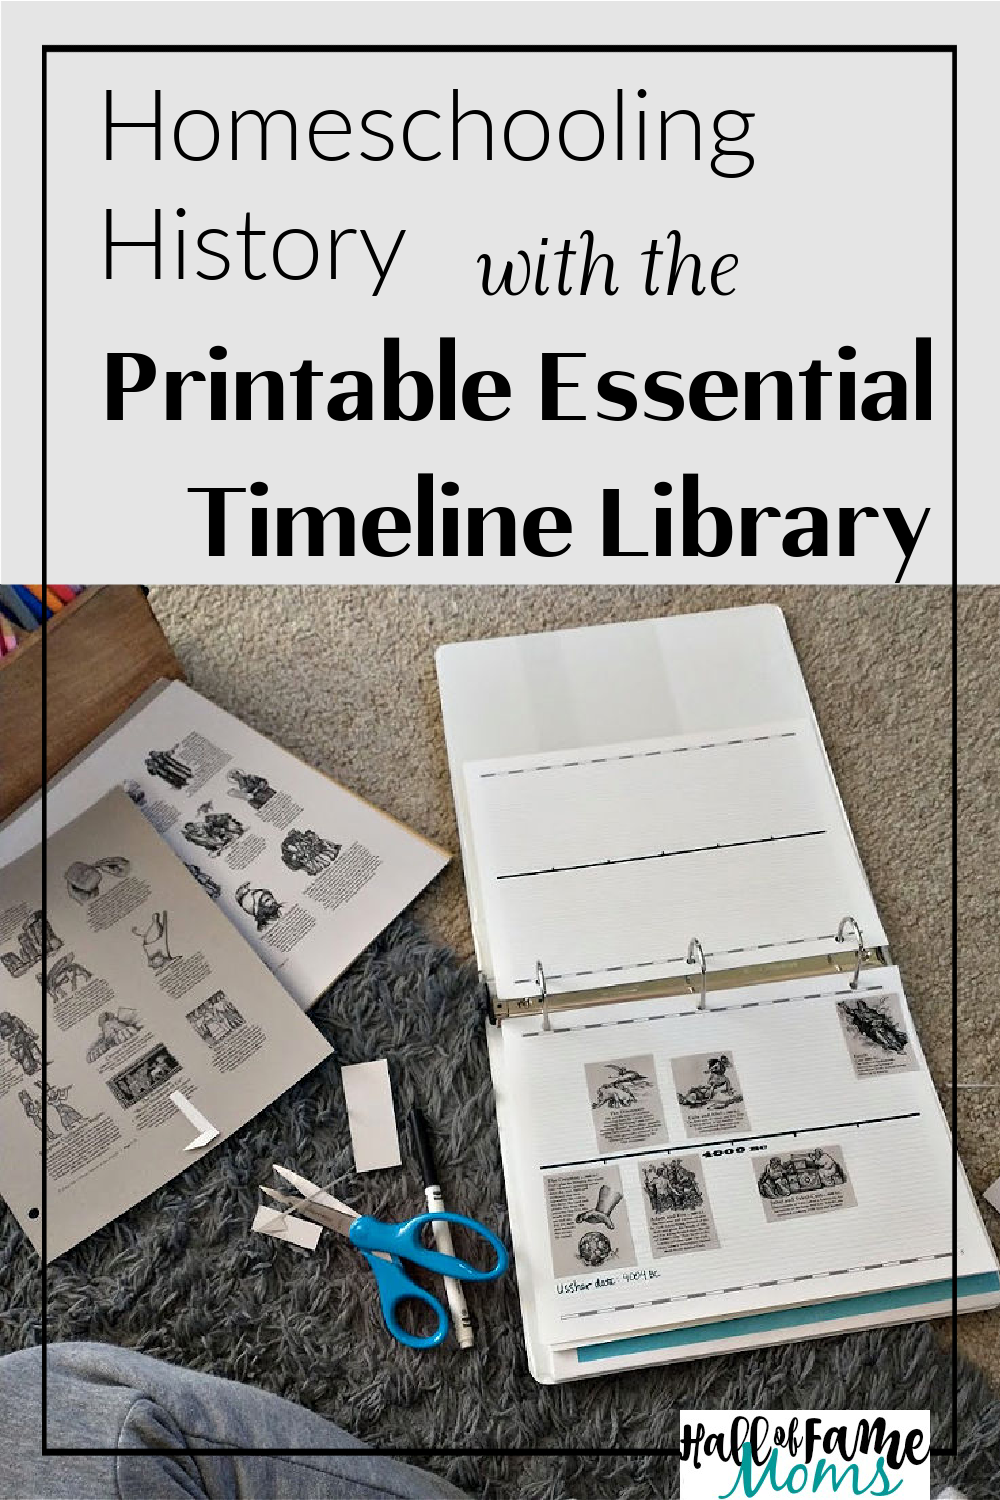
Your unique History Timeline Binder
If your child or teen has trouble wrapping their minds around history why not try a hands-on approach where they can cut paste, color, create, pick the timeline figures and events they are interested in studying and create a personal book that they will be proud of!
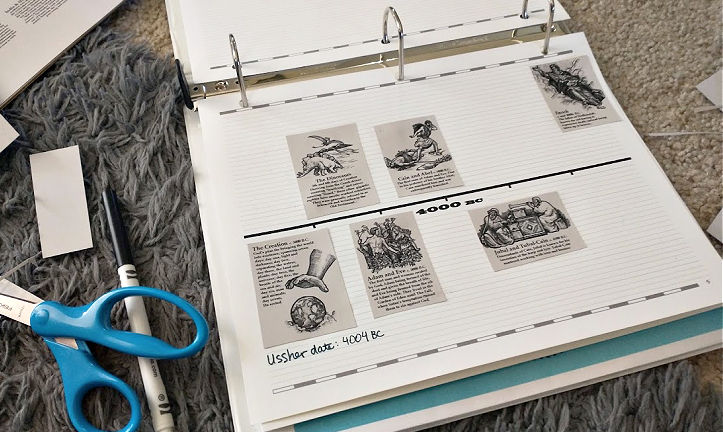
You can add notes to your timeline with added facts and dates you find elsewhere in your study. For instance, in my book shown above I chose to print out figures with text and just made a note showing alternative info from a different historical source (Ussher).
Years ago I had planned to create a timeline notebook project like this to do with my boys,but I never got it going. The Printable Essential Timeline Library makes it easy to jumpstart this project that once was daunting.
Because we are using three ringed binders I’m excited to be able to add maps and more that we want to be included in our timeline binders.
This will be a project we can continue throughout my sons’ last couple years of high school – which is what I wanted to start doing years ago!
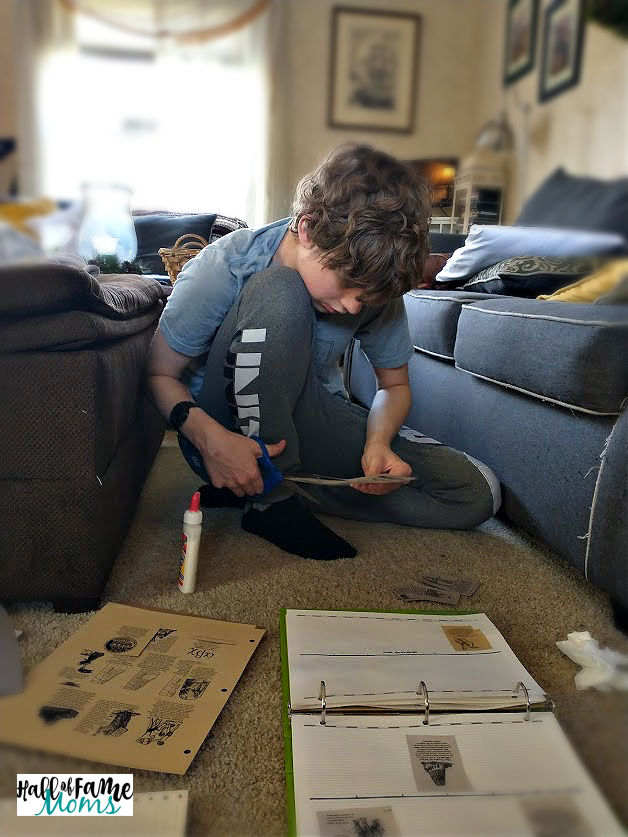
As he worked on getting his timeline notebook started he focused on his interest at the time which was Asian history. For my notebook I tried covering most major historical figures or events supplied by Home School in the Woods for the beginning of biblical history.
*For a limited time get $10 off a $50 purchase. Expires 7/31/22 –
Click the image below and use code: 10off50
Home School in the Woods does have other timeline packages besides the one I am reviewing in this post.
Getting started on your Timeline Notebook
Getting started with Homeschool in the Woods’ Printable Essential Timeline Library is easy. You don’t have to do everything I did, but I’ll share my experience!
First I downloaded (not printed yet) the Printable Essential Timeline Library files which include (go here and see now):
Historic figures, events and things with text or without text either in notebook size or wall size as well as files on suggestions for placement for the 1444 figures spanning approximately from 5000 BC to 2000 AD (including biblical history). There are some add-on packs which you will see when you download everything.
Then I printed off some of the helps or instructions that I wanted a hard copy of such as the Index that would help me find where each figure is located alphabetically and the Instructions For Use for the actual timeline figures pages.
You don’t have to print these out but I wanted to.
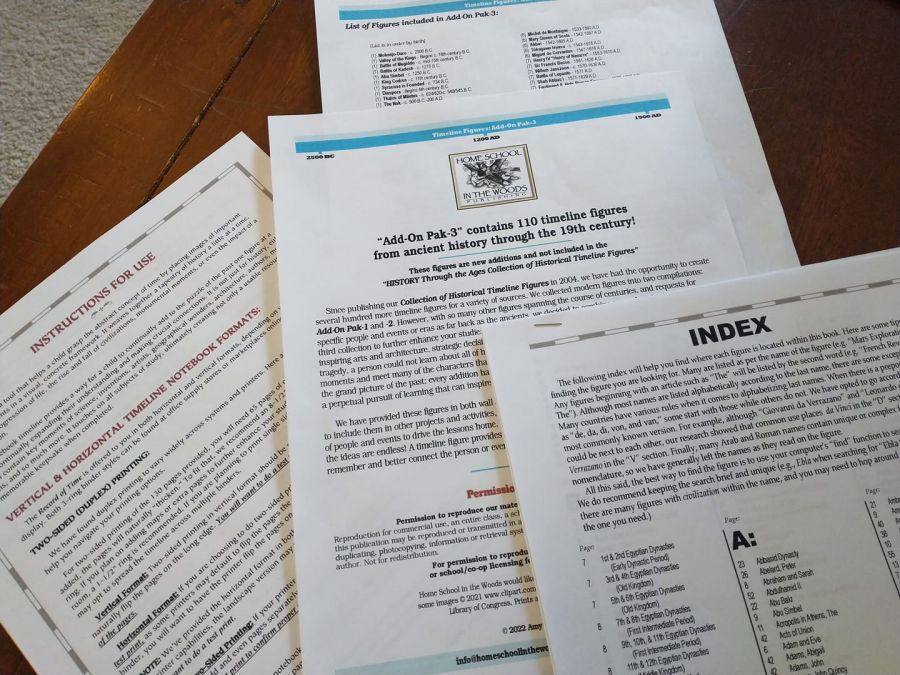
I also printed off many of the historical timeline figures that I wanted us to begin working with.
While I downloaded the files I only chose to print out certain parts. There are many historical figures to choose from. As I mentioned above, my son decided to focus on Asian history for now while I focused on starting at the beginning with biblical world history.
Remember, you don’t have to start at the beginning of time, if your child struggles with paying attention to history why not let them start with a point of interest and allow them to be creative!
I hope you found this post helpful. We just began our history timeline notebooks late this school year but I plan on us continuing to work in them throughout the rest of my sons’ high school years.
And, because I love history and study it on-going I may continue to incorporate the Printable Essential Timeline Library in my documenting.
Enter the giveaway below and then go here check out the Home School in the Woods store!


